Pipehacker
Pipehacker Project: The Reed-Hack Survival Pack
 Highland bagpiping requires a lot of skill, and not just the fingering kind. The demands on sound and bagpipe quality mean that Highland pipers need to be versed in a variety of techniques to sound their best. Mainly, the modern self-sufficient piper needs to be skilled in manipulating their own chanter reeds to get the awesome sound required for today’s competition boards. An active piper will certainly have the “tools of the trade” for reedsmithing: a sharp blade for scraping, hemp, a mandrel for poking, and other oddments necessary for instant use. Trouble is, these are usually in a box or pouch in one’s pipe case. Not much good when these things are needed out on the games pitch or in the band circle during tune-up. In the true Pipehacker tradition, here is a sporran-sized, exquisitely portable survival kit based on the Pipehacker Personal Reed Case and pipe-hacked, miniaturized versions of the tools you need for reed-hacking while practicing or fine tuning before performance time.
What You Need

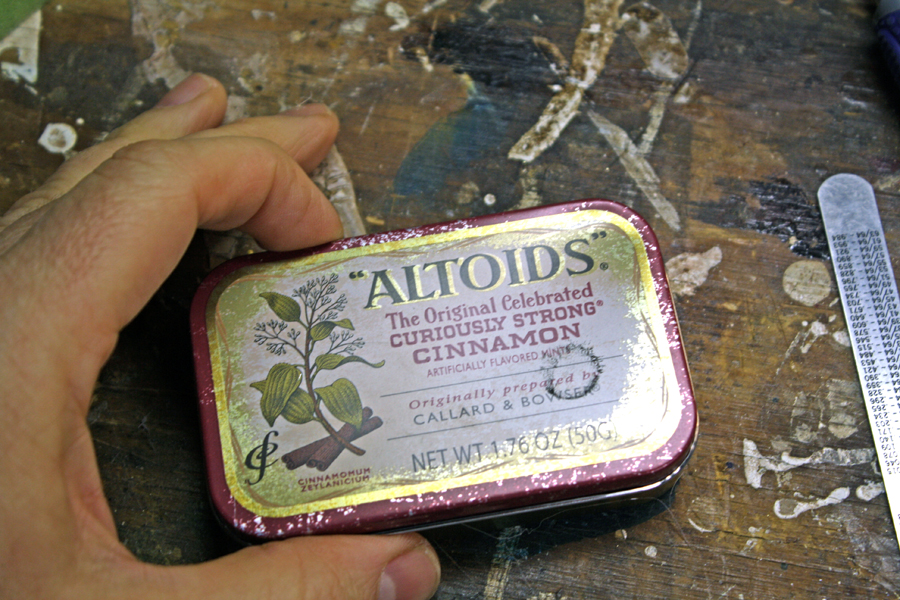
- Empty mint or gum tin (Altoid brand or similar size.)
- Foam cushioning (From an old chair or sofa cushion, or packing material from a new appliance.)
- Standard Xacto blade with standard handle
- 2, standard 10-24, 3-inch bolts (3/8-inch diameter, brass or steel)
- Waxed yellow hemp
- Metal file
- Dremel hand tool with grinding or emery wheel
- Hacksaw
- Utility knife
- C-clamp
- Ruler
- Hot glue gun
- Sharpie marker
- Old chanter reed
- Round neodymium magnet (optional)
- Hand drill/driver (optional)
- Safety goggles (NOT optional)
How to Do It
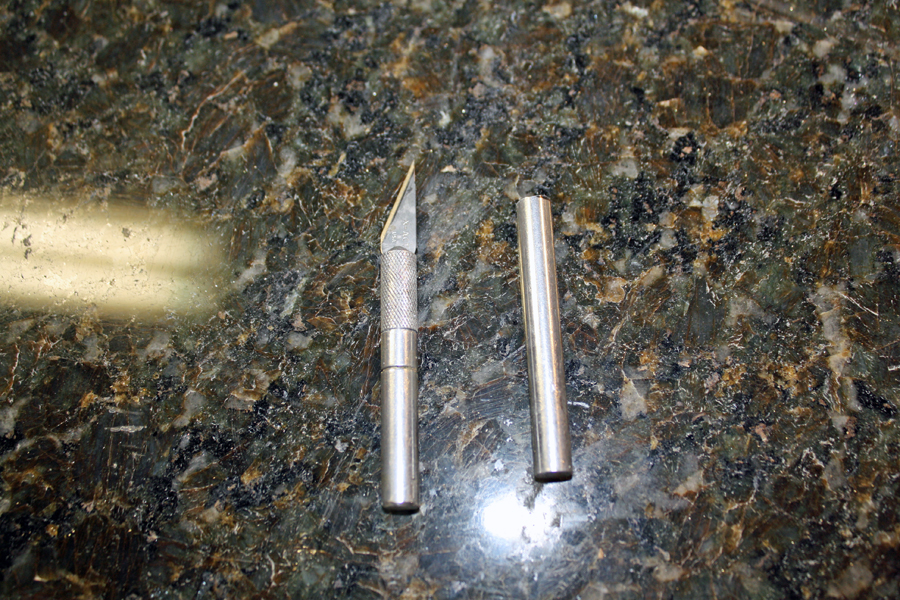
 1. Make your mini mandrel. Cut the head off of the 10-24 bolt with the hacksaw (or, since you have Dremel tool, you will likely have a cutting wheel bit, which works perfectly). Unscrew the top bushing on the Xacto handle and remove the bushing and the blade chuck. Take the handle and screw in the bolt until tight. WEAR SAFETY GOGGLES and carefully use the grinding or emery bit on the Dremel to grind off the exposed threads on the remaining 2-1/16-inch length.
 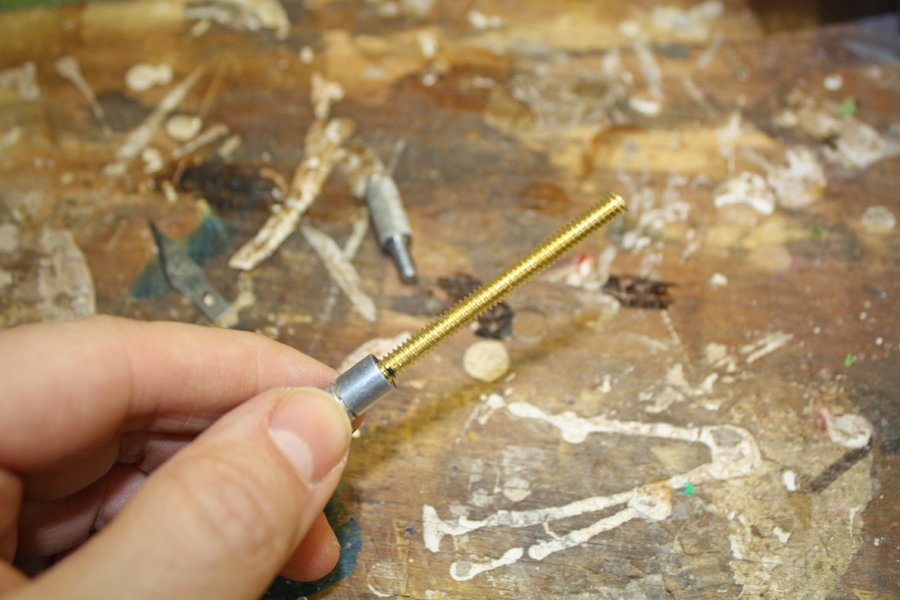 You can do this in whichever way is comfortable for you. The Dremel does not exert a tremendous amount of force, so it is possible to hold the screw/knife handle setup in one hand and work the Dremel with the other. Work your way around the bolt to evenly take off the threads and start grinding flats on opposite sides. With the screw secured in the Xacto handle, you’ll have better control. (If you have a bench-top grinding wheel, even better!) Grind the flats down so it is at least 1/8-inch diameter. (It needs to fit inside the staple of a reed after all.)
 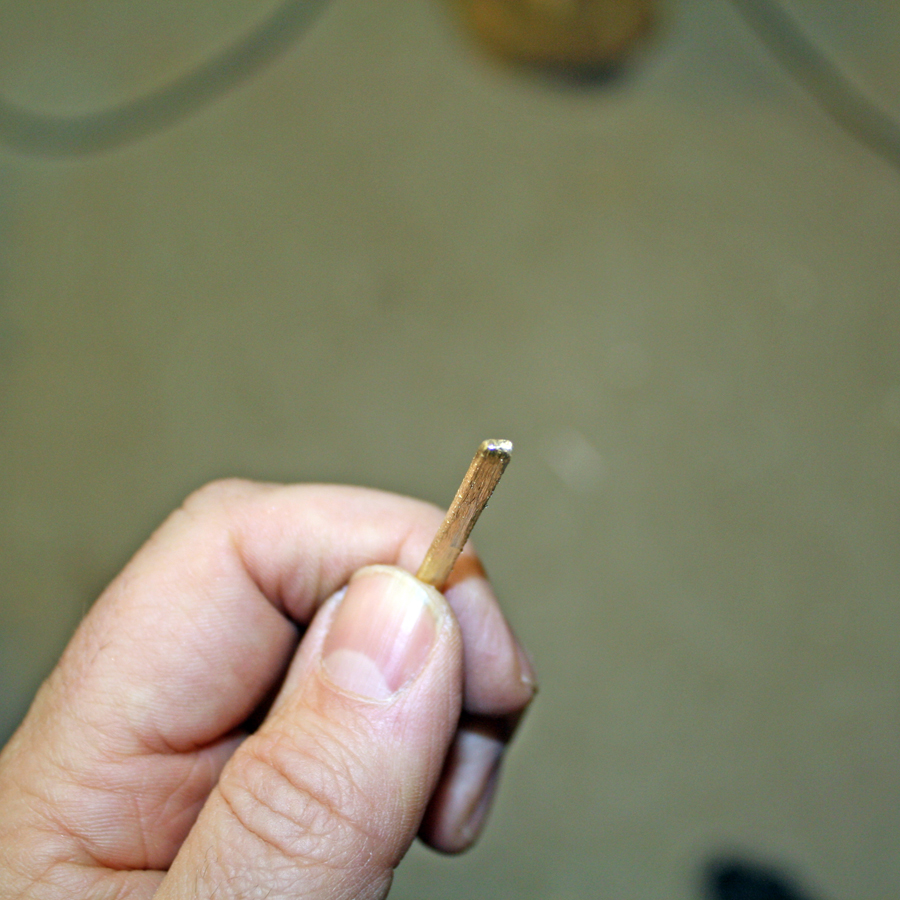 Start grinding the other sides until you create a square-ish tip that fits into the staple of the reed. Keep testing and grinding until it fits. (NOTE: The Dremel, while functional, can leave a somewhat sloppy finish. You can smooth out the flats with the metal file for a neater result.) Keep grinding and testing the strength of the set up on the old reed. You should be able to turn and apply pressure as you normally would with a larger tool.
 Â 2. Make your mini blade. Remove the mandrel from the knife handle. Measure 1-1/2 inches from the top of the bladeless handle. Mark with your sharpie and secure with C-clamp. Cut the handle at the mark using the hacksaw. Smooth the edges of the cut with the metal file. Assemble the blade again and try it out!
 2. Make your mini blade. Remove the mandrel from the knife handle. Measure 1-1/2 inches from the top of the bladeless handle. Mark with your sharpie and secure with C-clamp. Cut the handle at the mark using the hacksaw. Smooth the edges of the cut with the metal file. Assemble the blade again and try it out!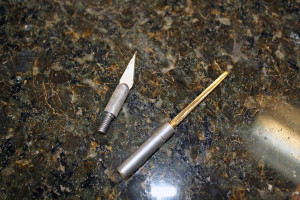

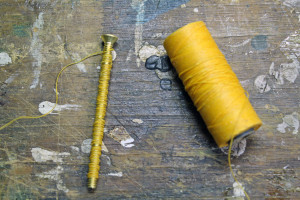
3. Make your mini help roll. Take the other bolt and cut off the head with the hacksaw. (This is an optional step, there’s no reason the screw head can’t stay on.) Smooth the ends with your metal file. Take a length of waxed hemp and tie tightly to one end of the bolt. Start wrapping in tight turns until you have a full wrap or two over the threads. If you want to get fancy and speedy, you can secure the bolt in the chuck of a hand drill, pull the hemp tight and feed the it onto the bolt as you run the drill. You can also cut a slot into the top of the bolt to secure the hemp end.
4. Make your tool holder insert. Slice off a “block†of foam cushioning, 2-1/2 x 1-3/8 x 3/4 inches. Use a long-bladed utility knife.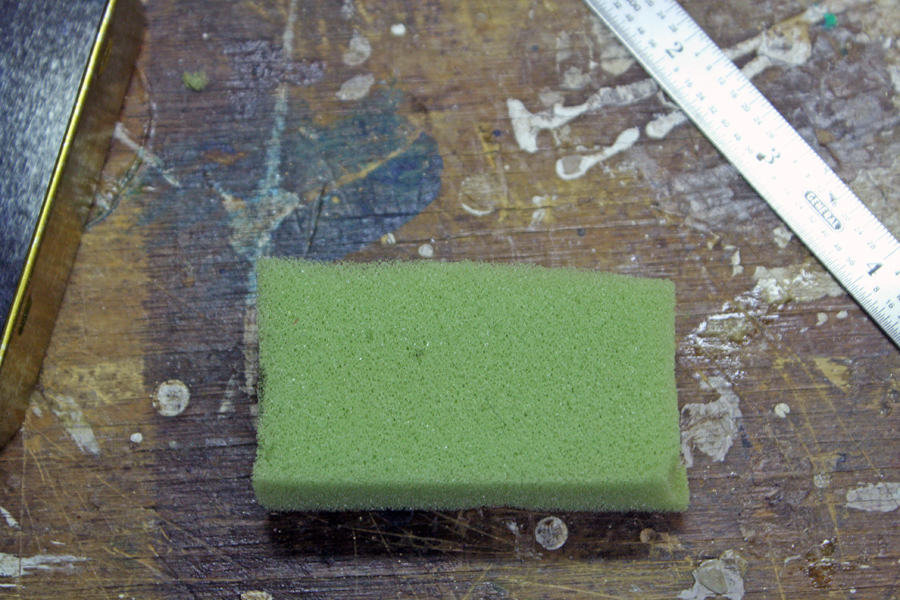
![]()
5. Place and cut your tool holder slots. These slots will secure your tools in place. Start at one end of the block and mark a line 5/8-inch from the end with your sharpie marker. Then mark two additional lines 5/8 inches apart. You should have three lines. Make a cut with your utility knife along each mark straight down through the width of the block to about a bit more than halfway through the depth of the block.

 6. Secure your reed holder insert into your reed case. Hot glue the bottom of the block. Press the block into the bottom end of the mint tin. Compress the block slightly to fit inside against the edges. Glue the sides to the inside walls of the tin.
7. Optional magnetic blade holder. Take a round, neodymium magnet and hot glue to the inside top lid of the mint tin. Place a couple of extra blades to have at the ready. The magnet is also great for holding the blade when you use the mini mandrel.

 8. Mini reed tech! Assemble your mini blade and take the mini blade, the mini mandrel, and the mini hemp and place your tools into each slot of the foam. Your one-size-fits-all mini handle can be used for the blade and the mini mandrel. Just unscrew the blade chuck from the mini knife and screw in the mini mandrel, and swap when needed. For an extra survival tip, place a few orthodontic rubber bands on the handle of the mini blade. Your pack is ready to pop into your sporran and always be on hand, even when your pipe case isn’t!


-
Stewart Nevling
Buy the Whisky Tunes Collection!

WHISKY TUNES ONLINE TUNEBOOK!
SMALL TUNES ONLINE TUNEBOOK