Pipehacker Project: The Personal Reed Case
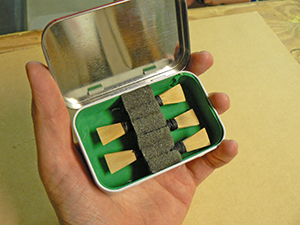 An enterprising bagpiper can accumulate a large number of chanter reeds over time. But once you find those choice bits of cane, what do you do with them? Active players will normally have a few good reeds going and need others close at hand. Do you keep them in a cardboard box? Store them in the back of your fridge? Keep them loose in a small jar? Many a good, unplayed reed has suffered from bouncing around loose in some sort of container in the bottom of a pipe case, or worse, been sitting safely stored at home when needed at a performance. Here is a nifty, quickly-made reed case that will not only keep your reeds dry and protected when kept in your pipe box, they’ll be held secure so they are undamaged in your travels.
What You Need
- Empty metal mint or gum (Altoids or similar knock off)
- 8.5 x 11-inch sheet of 1/8-inch thick children’s EVA foam
- Foam cushioning from an old chair or sofa. (A new appliance or electronic gizmo will often have stiff spongy packing.)
- Hot glue gun or regular white Elmer’s glue
- Small paint brush (if using Elmer’s)
- X-acto knife or hobby blade
- Long box cutter or utility knife
- Ruler
- Sharpie marker
- Spray hobby paint (optional)
How to Do It
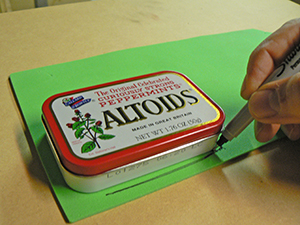
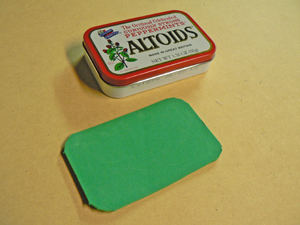
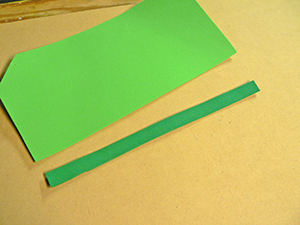
1. Prepare your materials. Place the Altoid tin on the sheet of EVA foam and trace the shape of the base. Trim your traced shape to fit flatly and snugly in the bottom of the tin. Cut a strip of EVA foam to line the walls of your reed case. Measure a strip 11-3/8 inches long and cut to 21/32 inches wide (the depth of the tin minus the thickness of the EVA foam base).
 2. Make your reed holder insert. Slice off a “block†of foam cushioning with the box cutter or utility knife, 2-3/8 x 3/8 x 3/4.
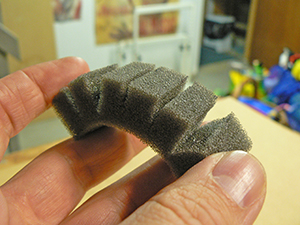 3. Place your reed holder slots. These slots will secure your reeds in place. Start at one end of the block and measure 1/2 inches. Mark a line with your sharpie marker. Then mark additional lines 5/8 inches apart. You should have five lines. Make a cut with your hobby knife along each mark straight down through the width of the block to about halfway through the depth of the block.
 4. Line the bottom portion of your reed case with EVA foam piece you traced and trimmed. Brush on some glue over the surface of the tin or dot the area with your glue gun. Glue down your trimmed base to the bottom of the tin. If you’re using hot glue, be sure to get the edges glued down.
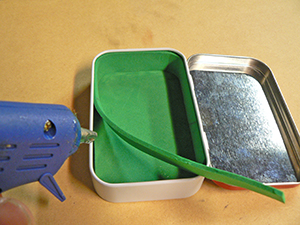 5. Line the walls of your reed case. Brush on the glue over a small bit of the EVA foam strip. Glue the EVA foam strip to one corner and work your way around the perimeter of the tin, pushing in the foam tight under the metal “lip.†Brush on or dot glue as you go while pressing in the strip underneath the tin “lip†little bits at a time for a tight fit. Let dry.
 6. Secure your reed holder insert into your reed case. Measure and mark the center of the tin’s base. Brush on glue or hot glue the bottom of the block. Line up the center of the tin’s base with the center of your foam block and insert the foam block. Compress the block slightly to fit inside against the edges. Glue the ends to the inside walls.
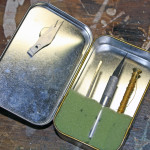
 7. Curiously strong reeds! Insert the staple/binding end of your chanter reeds into the slot in the foam holder alternating sides of the foam with each reed. You can now indulge your artistic tendencies and personalize the case. Sand down the exterior and coat with your favorite color spray or hobby paint.
SPECIAL SPORRAN SIZE: Repeat all the steps above but use an Altoid chewing gum tin. They are the perfect size for the sporran. Alter your measurements as needed for the foam insert. These tins are smaller, narrower, and will fit about 2 or 3 chanter reeds.
-
Nathan
-
Paolo
 Pipehacker
